
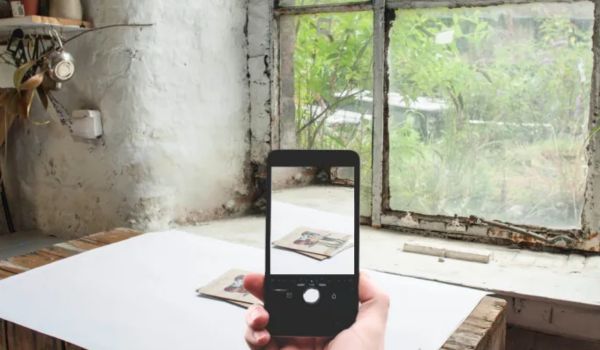
Taking product photos, undeniably, is difficult for sellers without photography skills. And it’s more difficult if they want actually impressive images to attract customers. However, with a small smartphone like an iPhone, you are still able to create awesome product photos like a pro photographer. In this blog, we will reveal tips on how to take product photos with an iPhone. Promise you will have satisfying pictures to promote products online.
Preparation for the product photoshoot
In the guide for taking product photos with an iPhone, the first step is thorough preparation of both equipment and supporting tools. There are two crucial factors, including the photography device and accessories.
An iPhone smartphone
Choose a smartphone for photography, with a rear camera resolution ranging from 8-12 megapixels, supporting image focusing, and good light balance. In the recent models like iPhone 12/13/14/15 pro and pro max, Apply actually focuses on improving the quality of cameras on its smartphones.
Some upgrades from Apple compared to the previous generation include the incorporation of LiDAR sensors, enhancing focus in low-light conditions. The Smart HDR feature has been improved in the latest version, and the Deep Fusion capability is now extended to all cameras on the device.
Apple has consistently maintained a 12MP camera across iPhone models from the iPhone 6 to the iPhone 13 series. However, in 2022, Apple took a groundbreaking step by equipping the iPhone 14 Pro Max with a main camera of 48MP. This is an encouraging signal that propels the iPhone far ahead of its competitors. With this feature, users can capture original photos of extremely high quality, making it convenient for later editing.
Lighting
Flash or dedicated studio lights for photography.
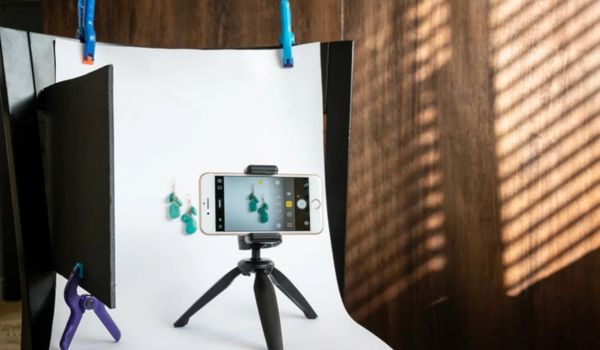
Tripod
A tripod helps stabilize the device, preventing vibrations when you shoot photos.
Interchangeable lenses
If you don’t have high-end iPhones, don’t worry. You are still able to have truly high-quality photos with interchangeable lenses. The price of these lenses ranges from $30 – $400 on Amazon, which is relatively expensive, but the image quality will be significantly different.
Background or product photography box
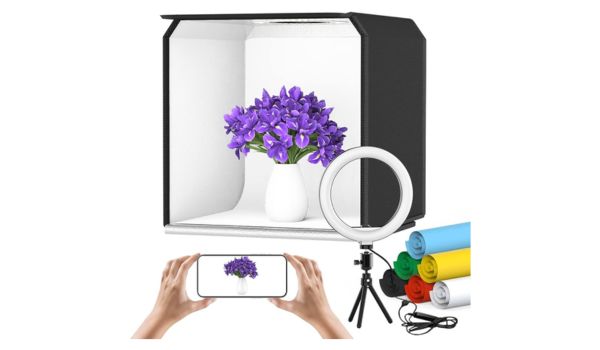
In the guide for taking product photos with a phone, a small tip for you is to use a product photography box to make the shooting process easier. It’s a square box with dimensions of 60x60x60cm, surrounded by thin white fabric and illuminated with lights from various angles. Or at least, you have to prepare a background for the photoshoot.
How to take product photos with an iPhone?
Creating a concept
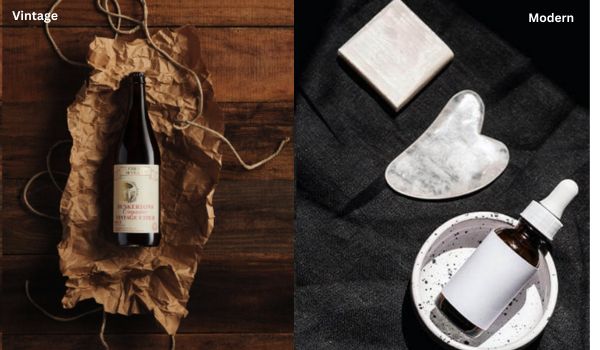
Whether you are using a pro camera or a smartphone to take product photos, creating a concept through the photoshoot is a must. In this step, you need to choose the style, color, location, and decorative accessories.
For example, if you want to take photoshoots for clothing products, you should define your style first, whether it is vintage, modern, or casual style.
Setting up the studio

Four crucial steps to set up the shooting area for capturing beautiful product photos with a phone:
Step 1: Establish the shooting space
Choose a comfortable room to place the product and photography equipment. If using natural light for phone product photography, select a room with sufficient natural light.
Step 2: Set up the background
For larger products, a large white wall can be chosen as the background. For smaller products photographed with a phone, simply set up a white sheet, using a long paper roll, and lay it down to create a curved background.
Step 3: Arrange the lighting
If the shooting room is well-lit, natural light can be utilized. In case of insufficient natural light, artificial lighting is the best choice. Equip yourself with a Kit or LED lights for supplementary lighting during the shoot.
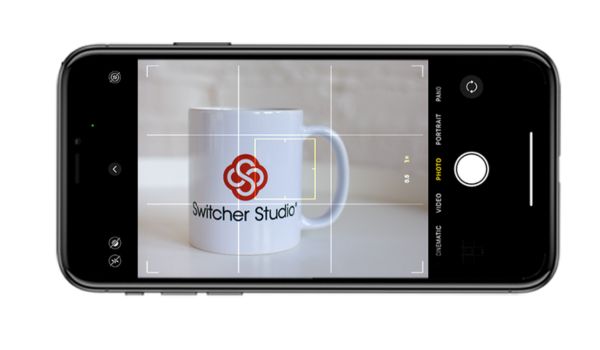
Step 4: iphone camera settings for product photography
First, clean the phone lens thoroughly.
- Grid: When turned “ON,” this function helps you easily arrange your products in the center of the frame.
- Live Exposure: The direct exposure mode allows reading the camera’s automatic exposure settings when adjusting.
- Auto Save: This allows you to designate the location where the image is saved to your phone when you capture it.
- Quality: Set the image quality to high, so your smartphone can help create the best possible images.
Take photos
Next, mount the phone on a stand and place it at an appropriate distance from the product to ensure your product is centered in the frame.
Tips to take product photos with an iPhone
Your product photos will look more professional with the following tips:
Choose a layout to highlight your product
To select a layout that highlights your product the most, keep in mind the following 4 principles:
- Choose a prominent placement for your product.
- In a frame, include a maximum of 5 objects.
- Master the “Rule of Thirds.”
- For a pleasing image, adhere to the “Composition follows Creativity” principle.
The “Rule of Thirds” is a fundamental concept in guides for capturing beautiful product photos with a phone. Each frame is divided into nine equal parts by two pairs of horizontal and vertical lines. Most smartphones nowadays integrate this feature. Following this principle, placing the subject at the intersection of these lines, specifically at the midpoint of the 4 lines, creates a more prominent focal point than placing it in the center of the frame. Although it increases focus, placing it in the center does not leave a strong impression on viewers.
Choose a suitable background
Background also plays an important role in highlighting your products. So, how to choose the right background for a product?
Use a studio/foldio box as we have suggested in the equipment. If you are selling small items like jewelry, glasses, and accessories, a studio box is worth your investment.
Even if you don’t choose the right color for the background at first, you still have a chance to correct it by using an online background remover. It can help you edit product photos with new, ready-made template background.
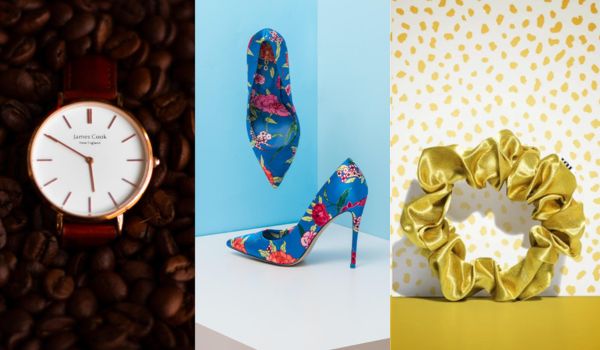
Choose suitable angles for photoshoots
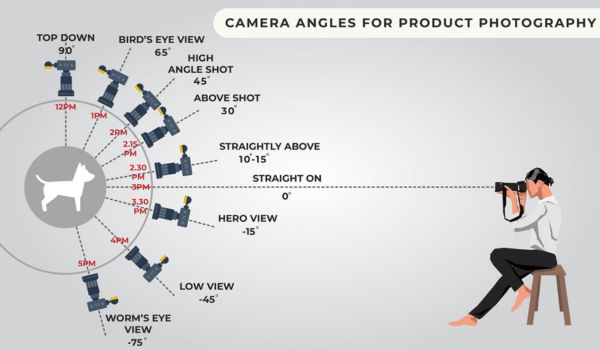
Don’t think that capturing product photos with a phone will limit creativity; there are many angles helping you achieve a WOW image.
Top down and worm’s eye view: Shooting from these two angles aims to help customers easily assess the shape, color, and overall appearance of the product.
Unique diagonal angle: This shooting angle has a random nature but brings an extremely satisfying depth effect. Customers gain a more comprehensive view of your product.
Close-up shot (macro): Every special and intricate detail of the product will be fully portrayed through this angle, instilling more trust in potential buyers. This shooting mode is particularly suitable for businesses dealing with watches, jewelry, and intricately crafted items with embroidery, intricate details, and small elements.
Choose a powerful photo editor
For an even more beautiful and professional look, you might need the final step of editing your product photos after capturing them. On your phone, you can easily find photo editing apps ranging from simple to complex on the Google Play Store or Apple Store.
Conclusion
To create an eye-catching product image is really simple, isn’t it? Just follow the carefully suggested guide for capturing beautiful product photos with your phone above. Hope you will successfully generate beautiful images with our guidelines and tips.